Overview
Using Adobe Acrobat's Output Preview Tool you can:
Before you supply your final PDFs to us for printing, we recommend that you check your separations to ensure that there are no extra unrequired spot colours present and that any extra finishing colours such as Spot UV have been left unchanged.
Separations are best checked in Adobe Acrobat®. To do this, open your PDF and go to
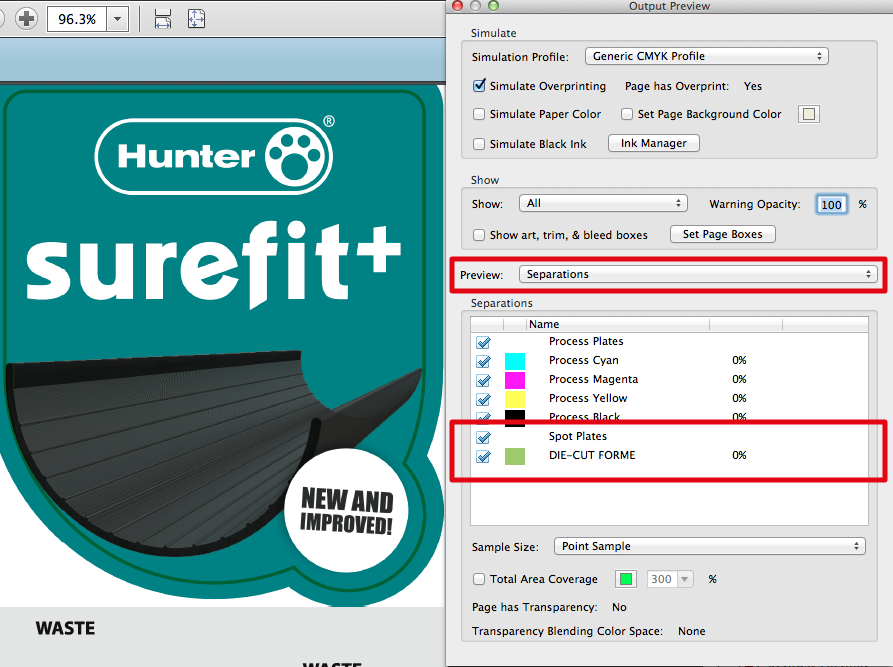
The example above shows a CMYK file that includes a DIE-CUT FORME for a cutter guide. Note that there are no Pantone® or other spot colours present.
Other useful tools in the Output Preview
Simulate Overprinting
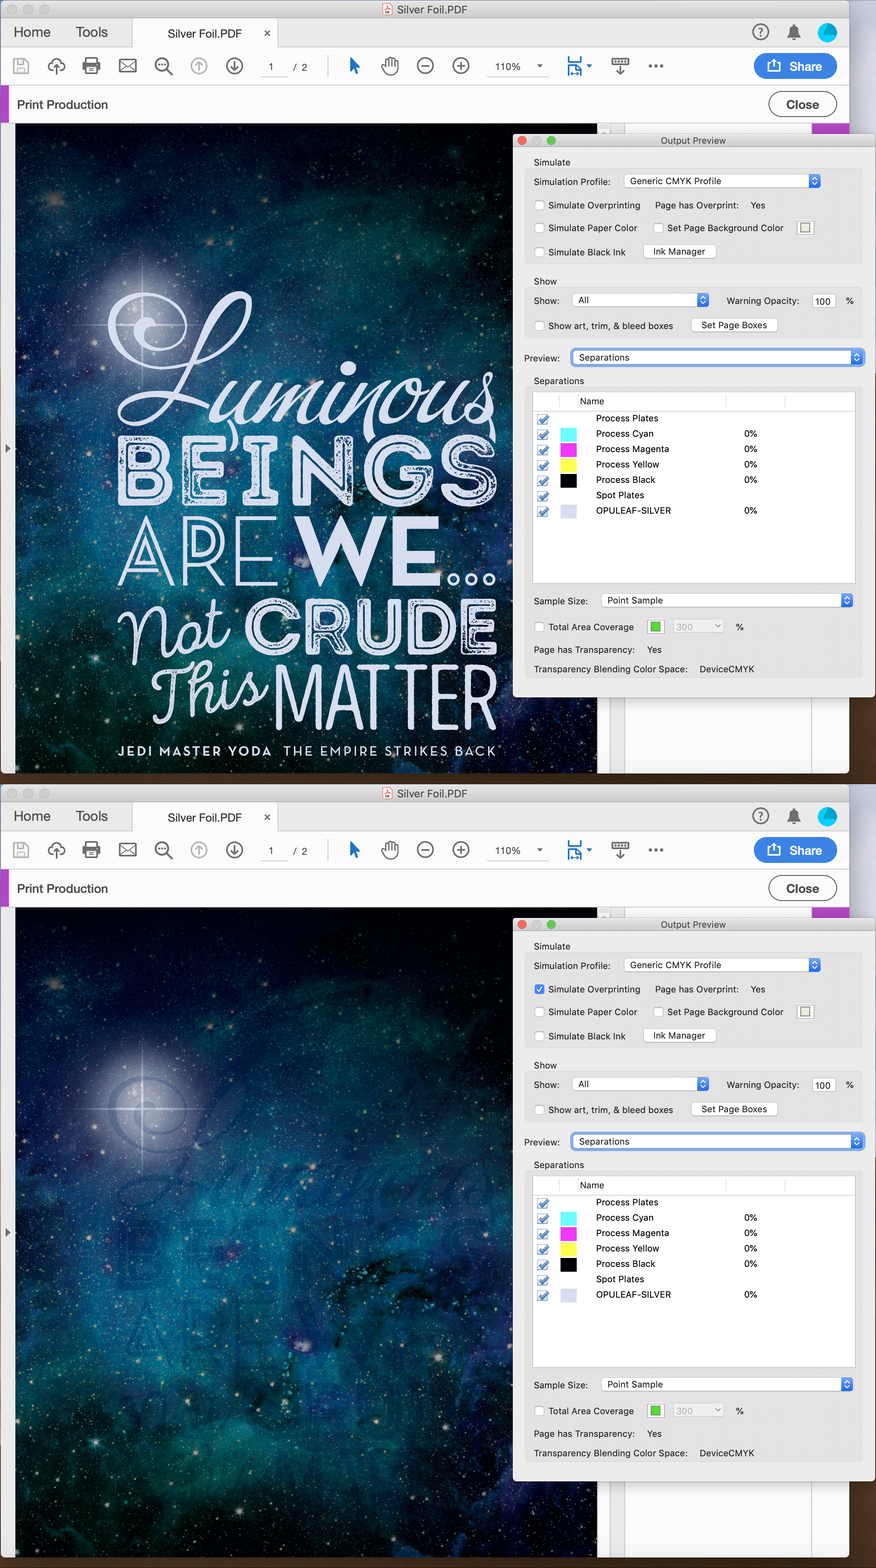
If this is ticked, any elements set to Overprint will become transparent and thus show the items behind. If the Simulate Overprinting is ticked and there is no change visually, then no Overprint is present. (Our Special Finishing Colours such as OPULEAF-SILVER must be set to Overprint).
Total Area Coverage (Ink Levels)
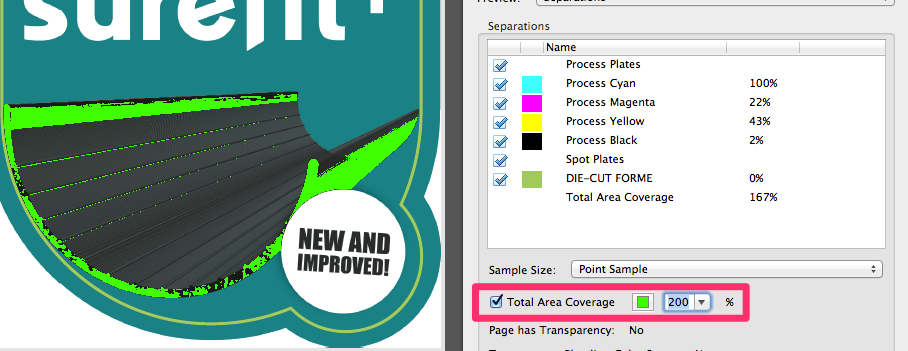
If this is ticked, any element above the predefined percentage will be displayed in a contrasting colour (300% for Coated Stocks and 225% for Uncoated Stocks such as Letterheads). This is useful for checking total ink levels quickly. The example below is highlighting all ink above 200%.
Colour Warnings (Show Overprinting)
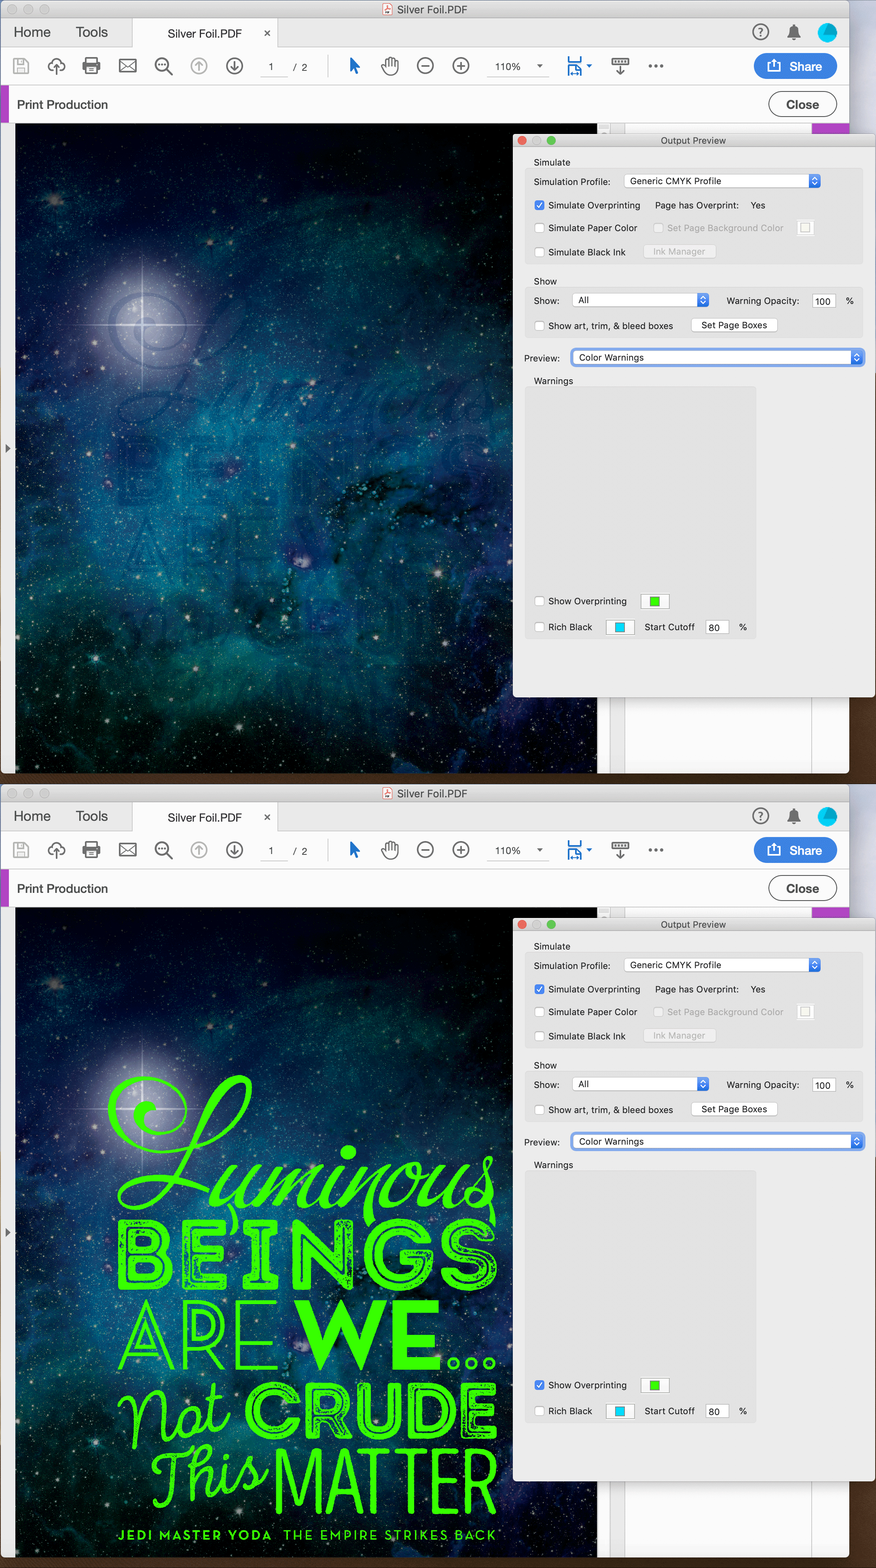
In Output Preview, change the Preview from Separations to Colour Warnings then select the tick box to Show Overprinting, when this is ticked it will display all Overprinted items in a contrasting colour. In this example below the OPULEAF-SILVER element, which is set to Overprint has changed colour. This is useful for quickly checking Overprint on Die Cut, Spot UV, Embossed and Foiled designs.
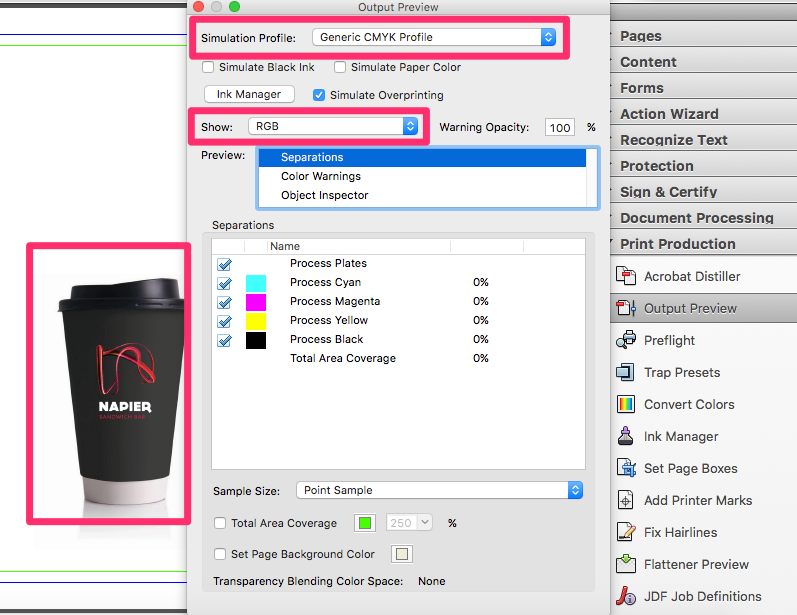
Show RGB, CMYK, Spot Colour elements
To locate RGB elements within your artwork select Show: RGB.
You can also use this section to show Images, Text, Line Art (Vectors), CMYK or Spot Colours on their own.


 Print this page


